


Thinking about tackling engineered hardwood installation yourself? Good news, it's absolutely doable for most Ottawa and Nepean homeowners, especially if you choose the right installation method and do your prep work properly.
Engineered hardwood has become a go-to flooring choice for Canadian homes, and for good reason. It handles our crazy temperature swings better than solid hardwood, looks stunning, and (here's the kicker) many types can be installed without professional help.
Let's break it all down so you can decide if this is a weekend project you're ready to tackle.
What Makes Engineered Hardwood Different?
Before we dive into installation, let's quickly cover what you're actually working with.
Engineered hardwood isn't fake wood, it's real hardwood on top, bonded to multiple layers of plywood or high-density fiberboard underneath. This layered construction gives it serious stability, which matters a lot in Ottawa where humidity levels swing dramatically between our humid summers and dry winters.
Why homeowners love it:
✅ More affordable than solid hardwood
✅ Can be installed over concrete (great for basements!)
✅ Handles moisture and temperature changes better
✅ Real wood appearance and feel
✅ Multiple installation options for different skill levels
The Four Installation Methods Explained
Here's where things get interesting. Engineered hardwood offers four different installation methods, and picking the right one depends on your subfloor type, your comfort level with tools, and how much time you want to invest.
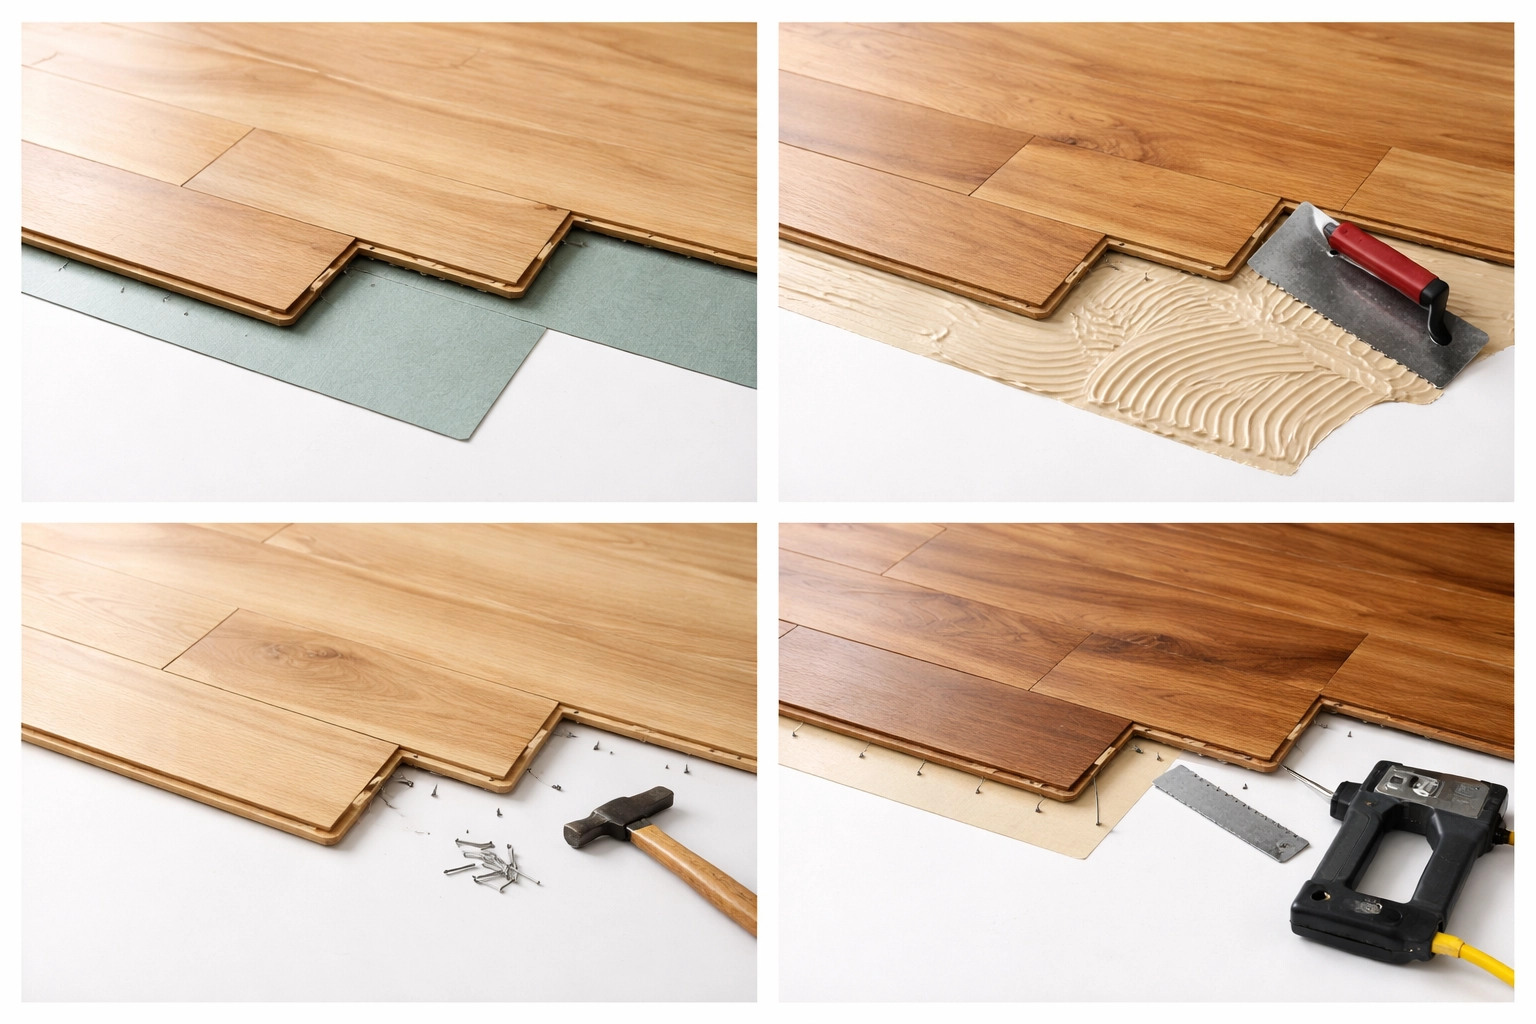
1. Floating Installation
Best for: Beginners, DIYers, and anyone who wants the easiest option
This is hands-down the most beginner-friendly method. No nails. No glue (in most cases). No power tools required.
Floating floors use a click-lock system where planks simply snap together. The floor "floats" over your subfloor without being attached to it. You'll lay down an underlayment first, then click the planks together row by row.
Pros:
Fastest installation method
Works on virtually any clean, level subfloor
Easy to remove if you change your mind later
Minimal tools needed
Cons:
Can feel slightly hollow underfoot
Not ideal for very large open spaces
2. Glue-Down Installation
Best for: Concrete subfloors and basement installations
If you're installing engineered hardwood in your basement or directly over concrete, glue-down is often your best bet. You spread adhesive in small sections (covering 2-3 rows at a time), then press the planks into place.
This method creates a solid, quiet floor with no hollow sound. However, it's more labour-intensive and requires careful adhesive application.
Heads up: If you're considering basement flooring options, you might also want to check out our guide on best flooring for basements in 2025 to compare your options.
3. Nail-Down Installation
Best for: Plywood subfloors and high-traffic areas
This traditional method uses a flooring nailer (or nail gun) to secure planks through the tongue at an angle. Nails are typically spaced 3-4 inches apart.
It creates the most solid, authentic feel but requires specialized tools and more experience. Most DIYers skip this one unless they already own the equipment.
4. Staple-Down Installation
Best for: Similar applications as nail-down, slightly easier
Uses a pneumatic staple gun instead of nails. Same spacing requirements (3-4 inches apart at 45-degree angles). Still requires tool investment and some experience.
Preparation: The Step Most People Rush (Don't Be That Person)
Here's the truth, proper preparation accounts for about 80% of a successful flooring installation. Skip this part, and you'll regret it.
Acclimate Your Flooring
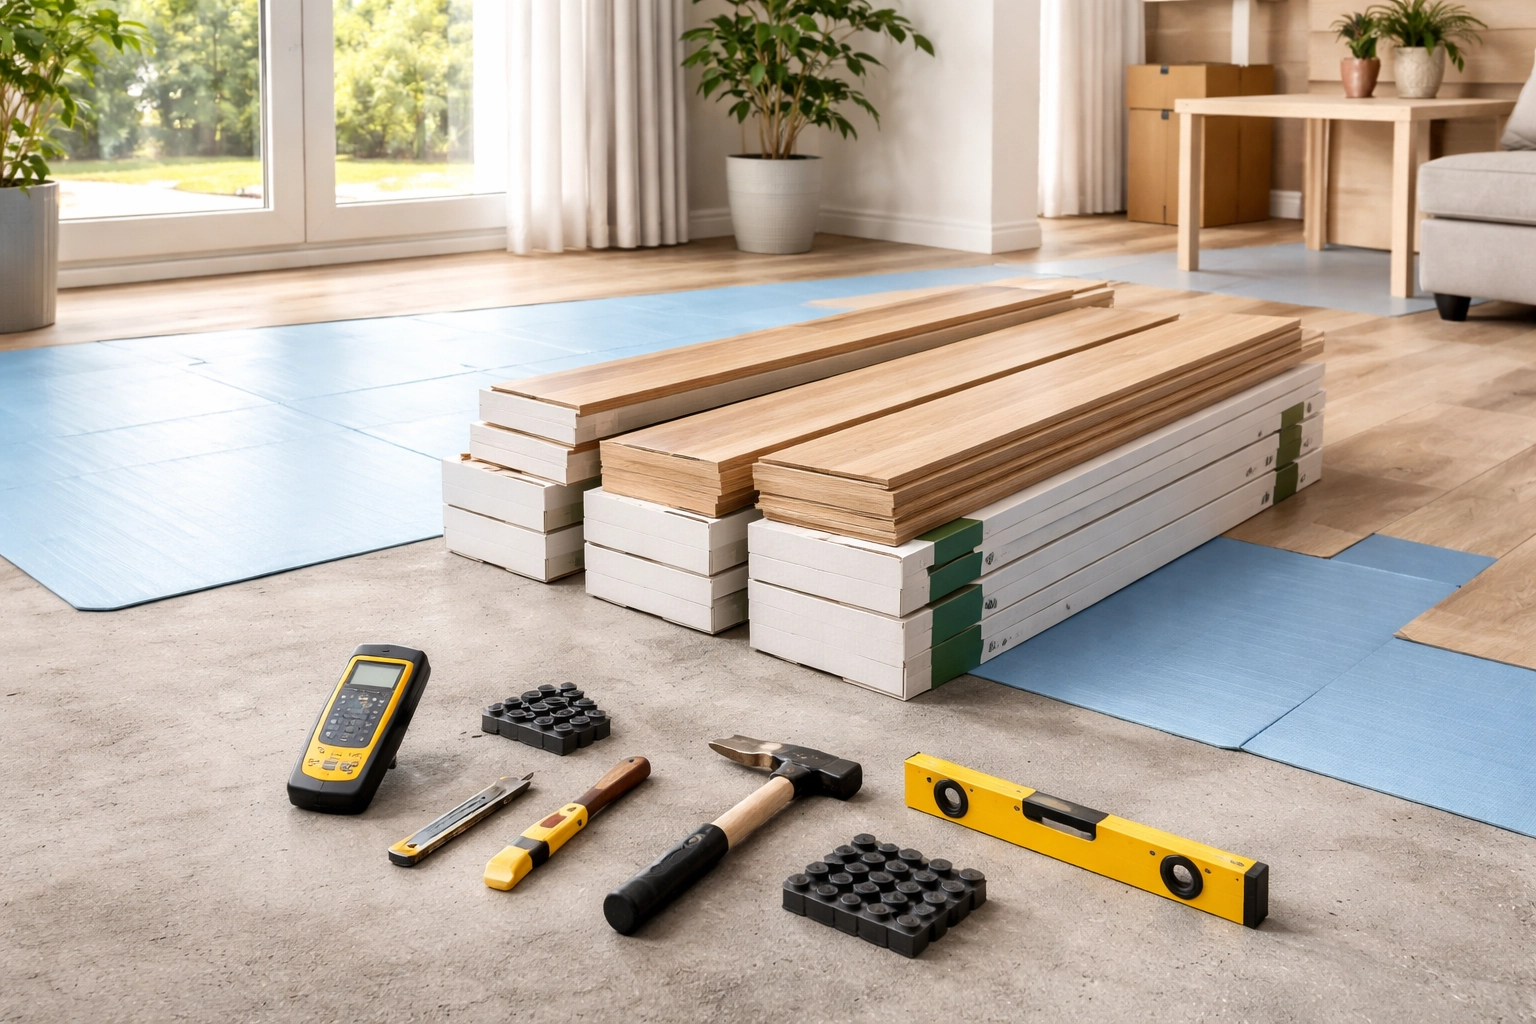
Your engineered hardwood needs to adjust to your home's environment before installation. Leave the unopened boxes in the room where you'll install them for at least 48-72 hours.
This is especially important in Ottawa and Nepean, where indoor humidity levels can vary significantly throughout the year.
Prepare Your Subfloor
Your subfloor needs to be:
✅ Clean – Sweep, vacuum, remove all debris
✅ Dry – Test moisture content (especially important for concrete)
✅ Level – Flat within 3/16" over 10 feet
✅ Structurally sound – No squeaky spots or damaged areas
If your subfloor isn't level, you may need to use a leveling compound. Let it fully cure before proceeding.
Gather Your Tools
For a floating installation, you'll need:
Tape measure
Pencil
Spacers (¼-inch)
Tapping block
Pull bar
Rubber mallet
Saw (circular, miter, or jigsaw)
Underlayment (if not pre-attached to planks)
Painter's tape
Safety glasses and knee pads
Step-by-Step: Floating Installation for Beginners
Ready to get your hands dirty? Here's how to tackle a floating installation like a pro.
Step 1: Install Underlayment
Roll out your underlayment across the entire floor, taping seams together. This provides cushioning, moisture protection, and sound absorption.
Pro tip: Some engineered hardwood comes with underlayment already attached. Check your product specs!
Step 2: Plan Your Layout
Measure your room and plan how you'll lay the planks. You want to:
Start along the longest, straightest wall
Ensure your first and last rows won't be too narrow (aim for at least half a plank width)
Stagger end joints by at least 6 inches between rows
Step 3: Place Spacers
Set ¼-inch spacers around the room's perimeter. This expansion gap is non-negotiable, it allows your floor to expand and contract with seasonal humidity changes without buckling.
Step 4: Lay Your First Row
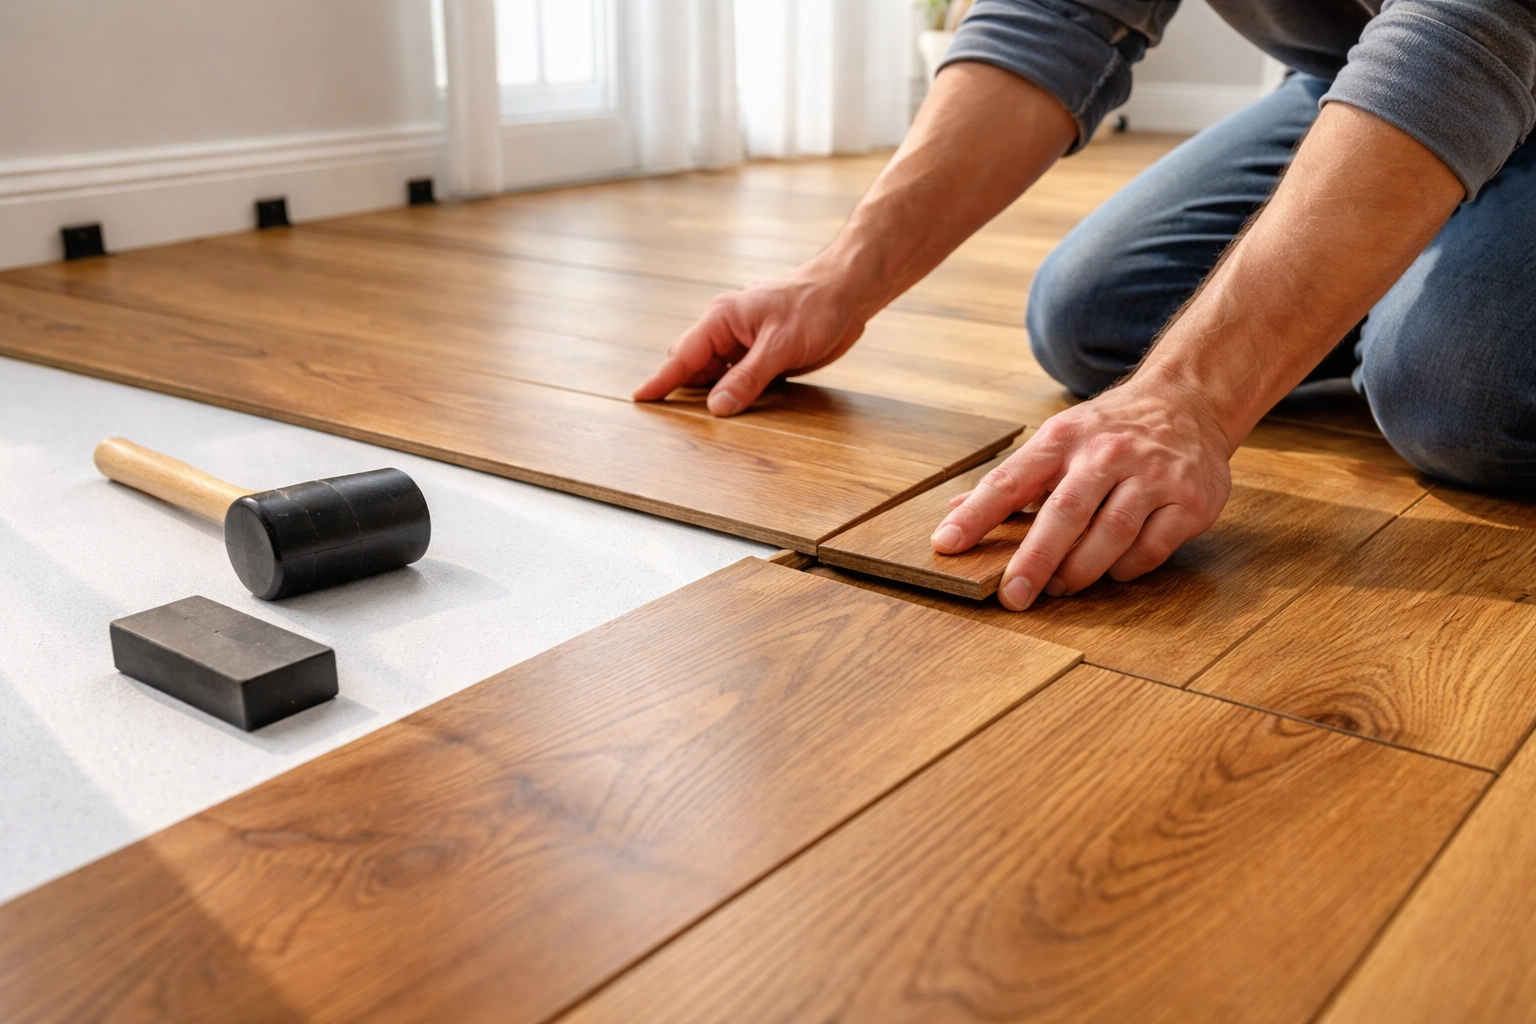
Start in a corner with the tongue side facing the wall. Click planks together end-to-end, using your tapping block and mallet to ensure tight connections.
Step 5: Continue Row by Row
Work across the room, connecting each new row to the previous one. Use your pull bar for the last plank in each row where there's no room to swing a mallet.
Step 6: Handle the Last Row
Measure and cut planks to fit the final row, remembering to maintain that ¼-inch expansion gap.
Step 7: Finishing Touches
Remove spacers after 24 hours. Install baseboards, quarter round, or shoe molding to cover the expansion gaps. Add transition strips where your new floor meets other flooring types.
Common Mistakes to Avoid
❌ Skipping acclimation – This leads to gaps or buckling later
❌ Forgetting expansion gaps – Your floor will buckle without room to move
❌ Installing over uneven subfloors – Creates squeaks and premature wear
❌ Ignoring moisture testing – Especially critical for concrete subfloors
❌ Rushing the job – Take your time, especially on the first few rows
After Installation Care
You're almost there! Just a few more things to keep in mind:
Wait 24 hours before heavy foot traffic
Wait 48-72 hours before moving furniture back
Use felt pads under all furniture legs
Avoid wet mopping, use a damp mop or approved hardwood cleaner
Maintain consistent indoor humidity (35-55% is ideal for Ottawa homes)
When to Call in the Pros
Look, we're all for DIY projects. But sometimes bringing in professionals just makes sense.
Consider professional installation if:
Your subfloor needs significant repair or leveling
You're dealing with complex room layouts or stairs
You've chosen nail-down or staple-down methods without the tools
Time is tight and you need it done right, fast
The team at Advantage Flooring & Renovations has helped countless Ottawa and Nepean homeowners with their flooring projects, from helping you pick the perfect engineered hardwood to handling tricky installations. If you'd rather leave it to the experts, book an appointment and we'll take it from there.
Ready to Get Started?
Engineered hardwood installation is absolutely achievable for motivated DIYers. With proper preparation, the right tools, and a bit of patience, you can transform your space with beautiful, durable floors you installed yourself.
And hey: if you get halfway through and decide you'd rather hand it off, no judgment here. That's what we're here for.


